Fun Film Project
Fun Film Project
Summary:
A girl wonders why no one is talking to her. Everyone is ignoring her. She tries so hard to get the attention of the people around her but no one is acknowledging her presence. Throughout the film, she discovers… that she… is dead among the living…
Goals:
- Minor cloning
- Some layering of videos
- Music adding
- Credits
- Video cutting
- Voice editing
Alive Inside (Film Analysis)
Alive Inside is one of the many documentaries featured at the Homer Theatre’s 11th annual documentary film festival. The movie documents the effects that music can have to elders who suffer with Dementia, Alzheimer’s, or any other memory loss diseases. It also covers how the current nursing home’s for elders contrast to the first versions. Showing the evolution of the nursing home raises some issues about how we take care of our elders in the homes. The major theme of the film is healing. With the music, they were able to heal their sadness with the joyful happiness of remembering. All of the sadness revealed in the beginning of the video was eventually healed. Some themes of government corruption was prevalent towards the end of the film, showing the government as one of the antagonists of the film aside from the disease.
This film features several characters who have all suffered losing a great portion of their early memories. In the film they are introduced as sad and empty humans until they were introduced to music once more. During the first introduction, the screen shows a shot of an elderly lady’s bright blue eyes. As the headphones were placed onto her ears, her eyes lit up immediately. That shot fit very well film, giving a good example of how the music affected the people immediately.
Personally, I loved the movie. There was no part of the movie that I found boring. Each and every moment captivated my attention and did not drag longer than it needed to. Some may say that it gave too much examples of old people getting healed by the music but I believe that they showed just enough to be not too much.
Overall, I believe that the movie is definitely worth watching especially if you have or had a loved one in a similar situation as the characters in the beginning. It may inspire you to do something.
Cinemagraph Gif

click it
CURVES
BEFORE:
AFTER:
In this Lesson, we tested the curve setting on PAINT.net.
We can adjust the lights and the darks way more than we can if we just set the contrast and brightness. We can also individually set how much of the colors Red, Blue, and Green we want to enable into the photo.
For this photo, I made the dark greens lighter, the light blues lighter, and the dark blues slightly lighter. I also took out some of the color red and slightly added some contrast. In the end, i decided to add a glowing effect so it looked more heavenly.
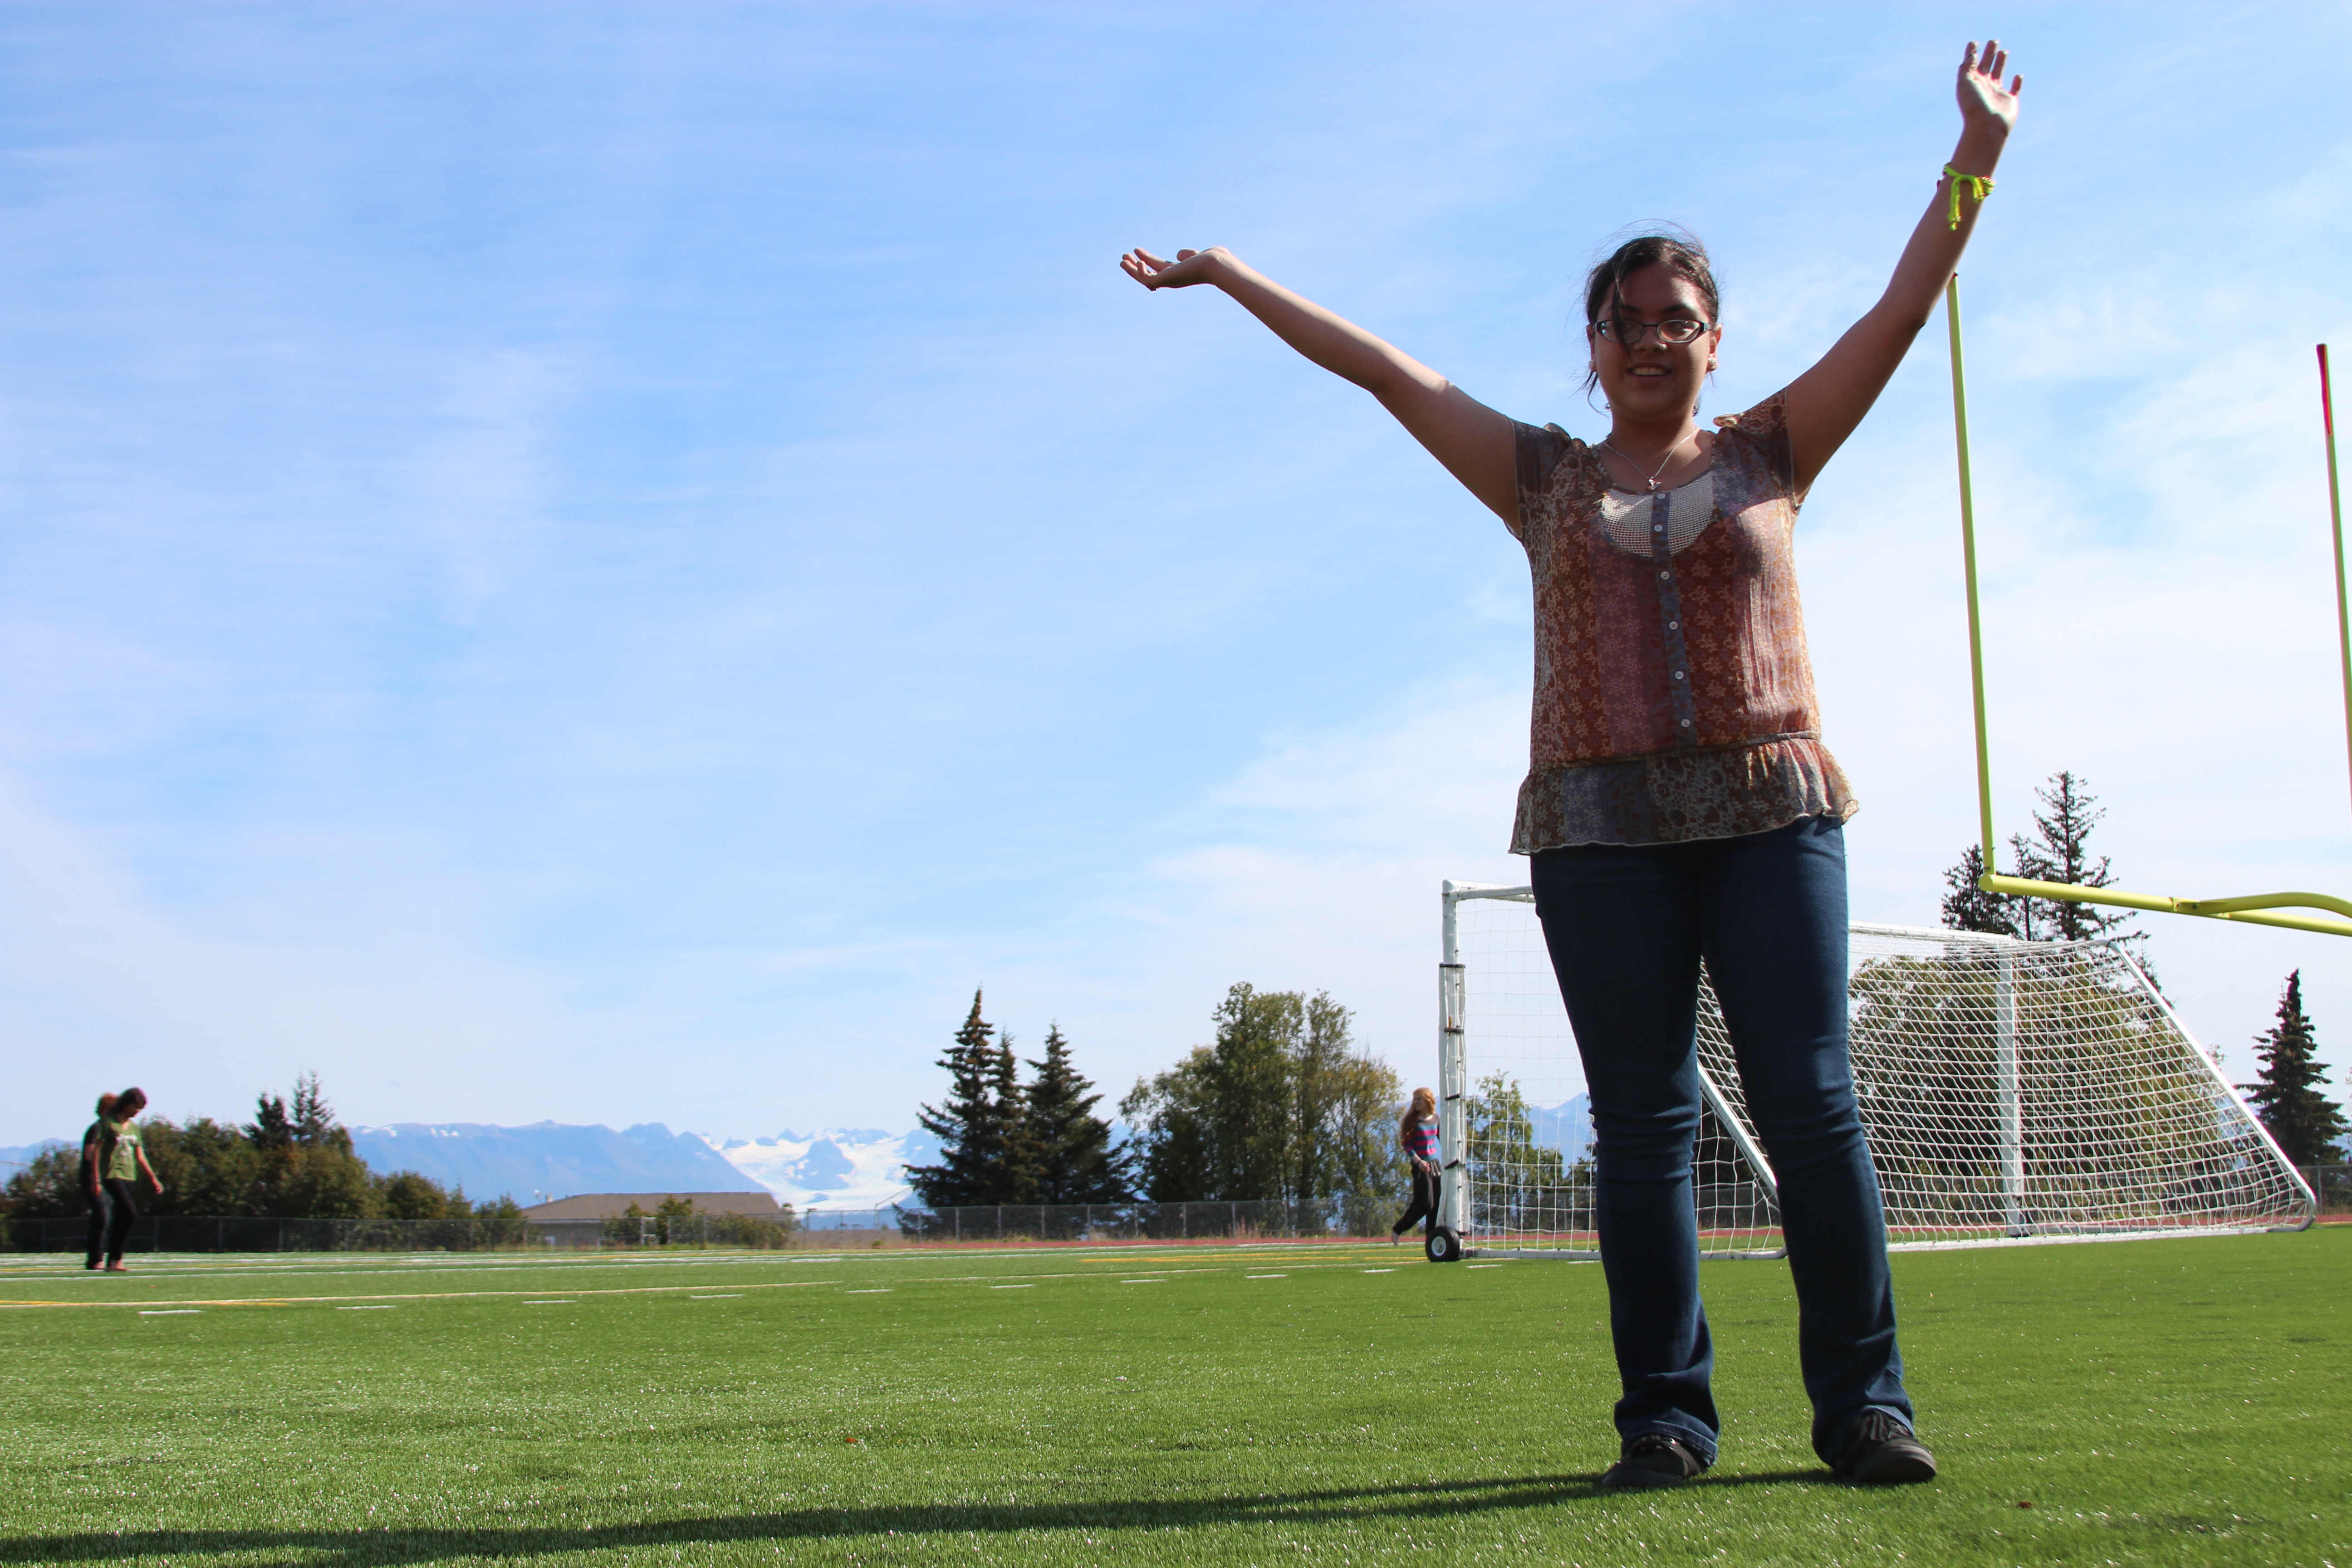
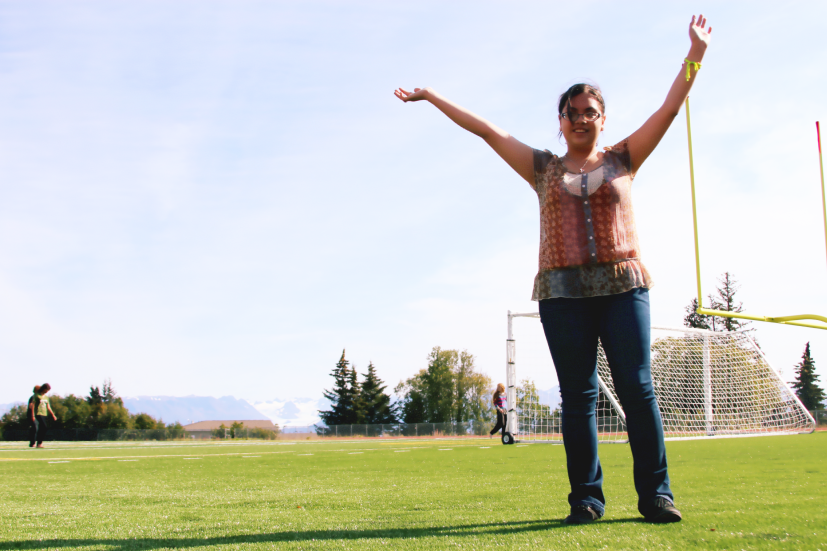
Camera Obscura
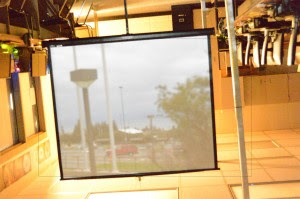
The Camera Obscura works exactly like our eyes. Light goes through our pupils and reflects it upside down like the camera obscura. The only difference with us humans is that we have a brain. Our brain automatically flips the upside down image our eyes project. But unfortunately, the camera obscure still projects the photo upside down.
It was not to difficult to capture the effects of the obscura through an actual camera.
For our Shutter Speed, we tested a 7 second exposure and a 15 second exposure. We needed to let the camera take time to absorb the reflected light.
for Aperture, we set it to a low number so the light can have a bigger hole to reflect into.
For ISO, we didn’t bother and we just set it to Auto.
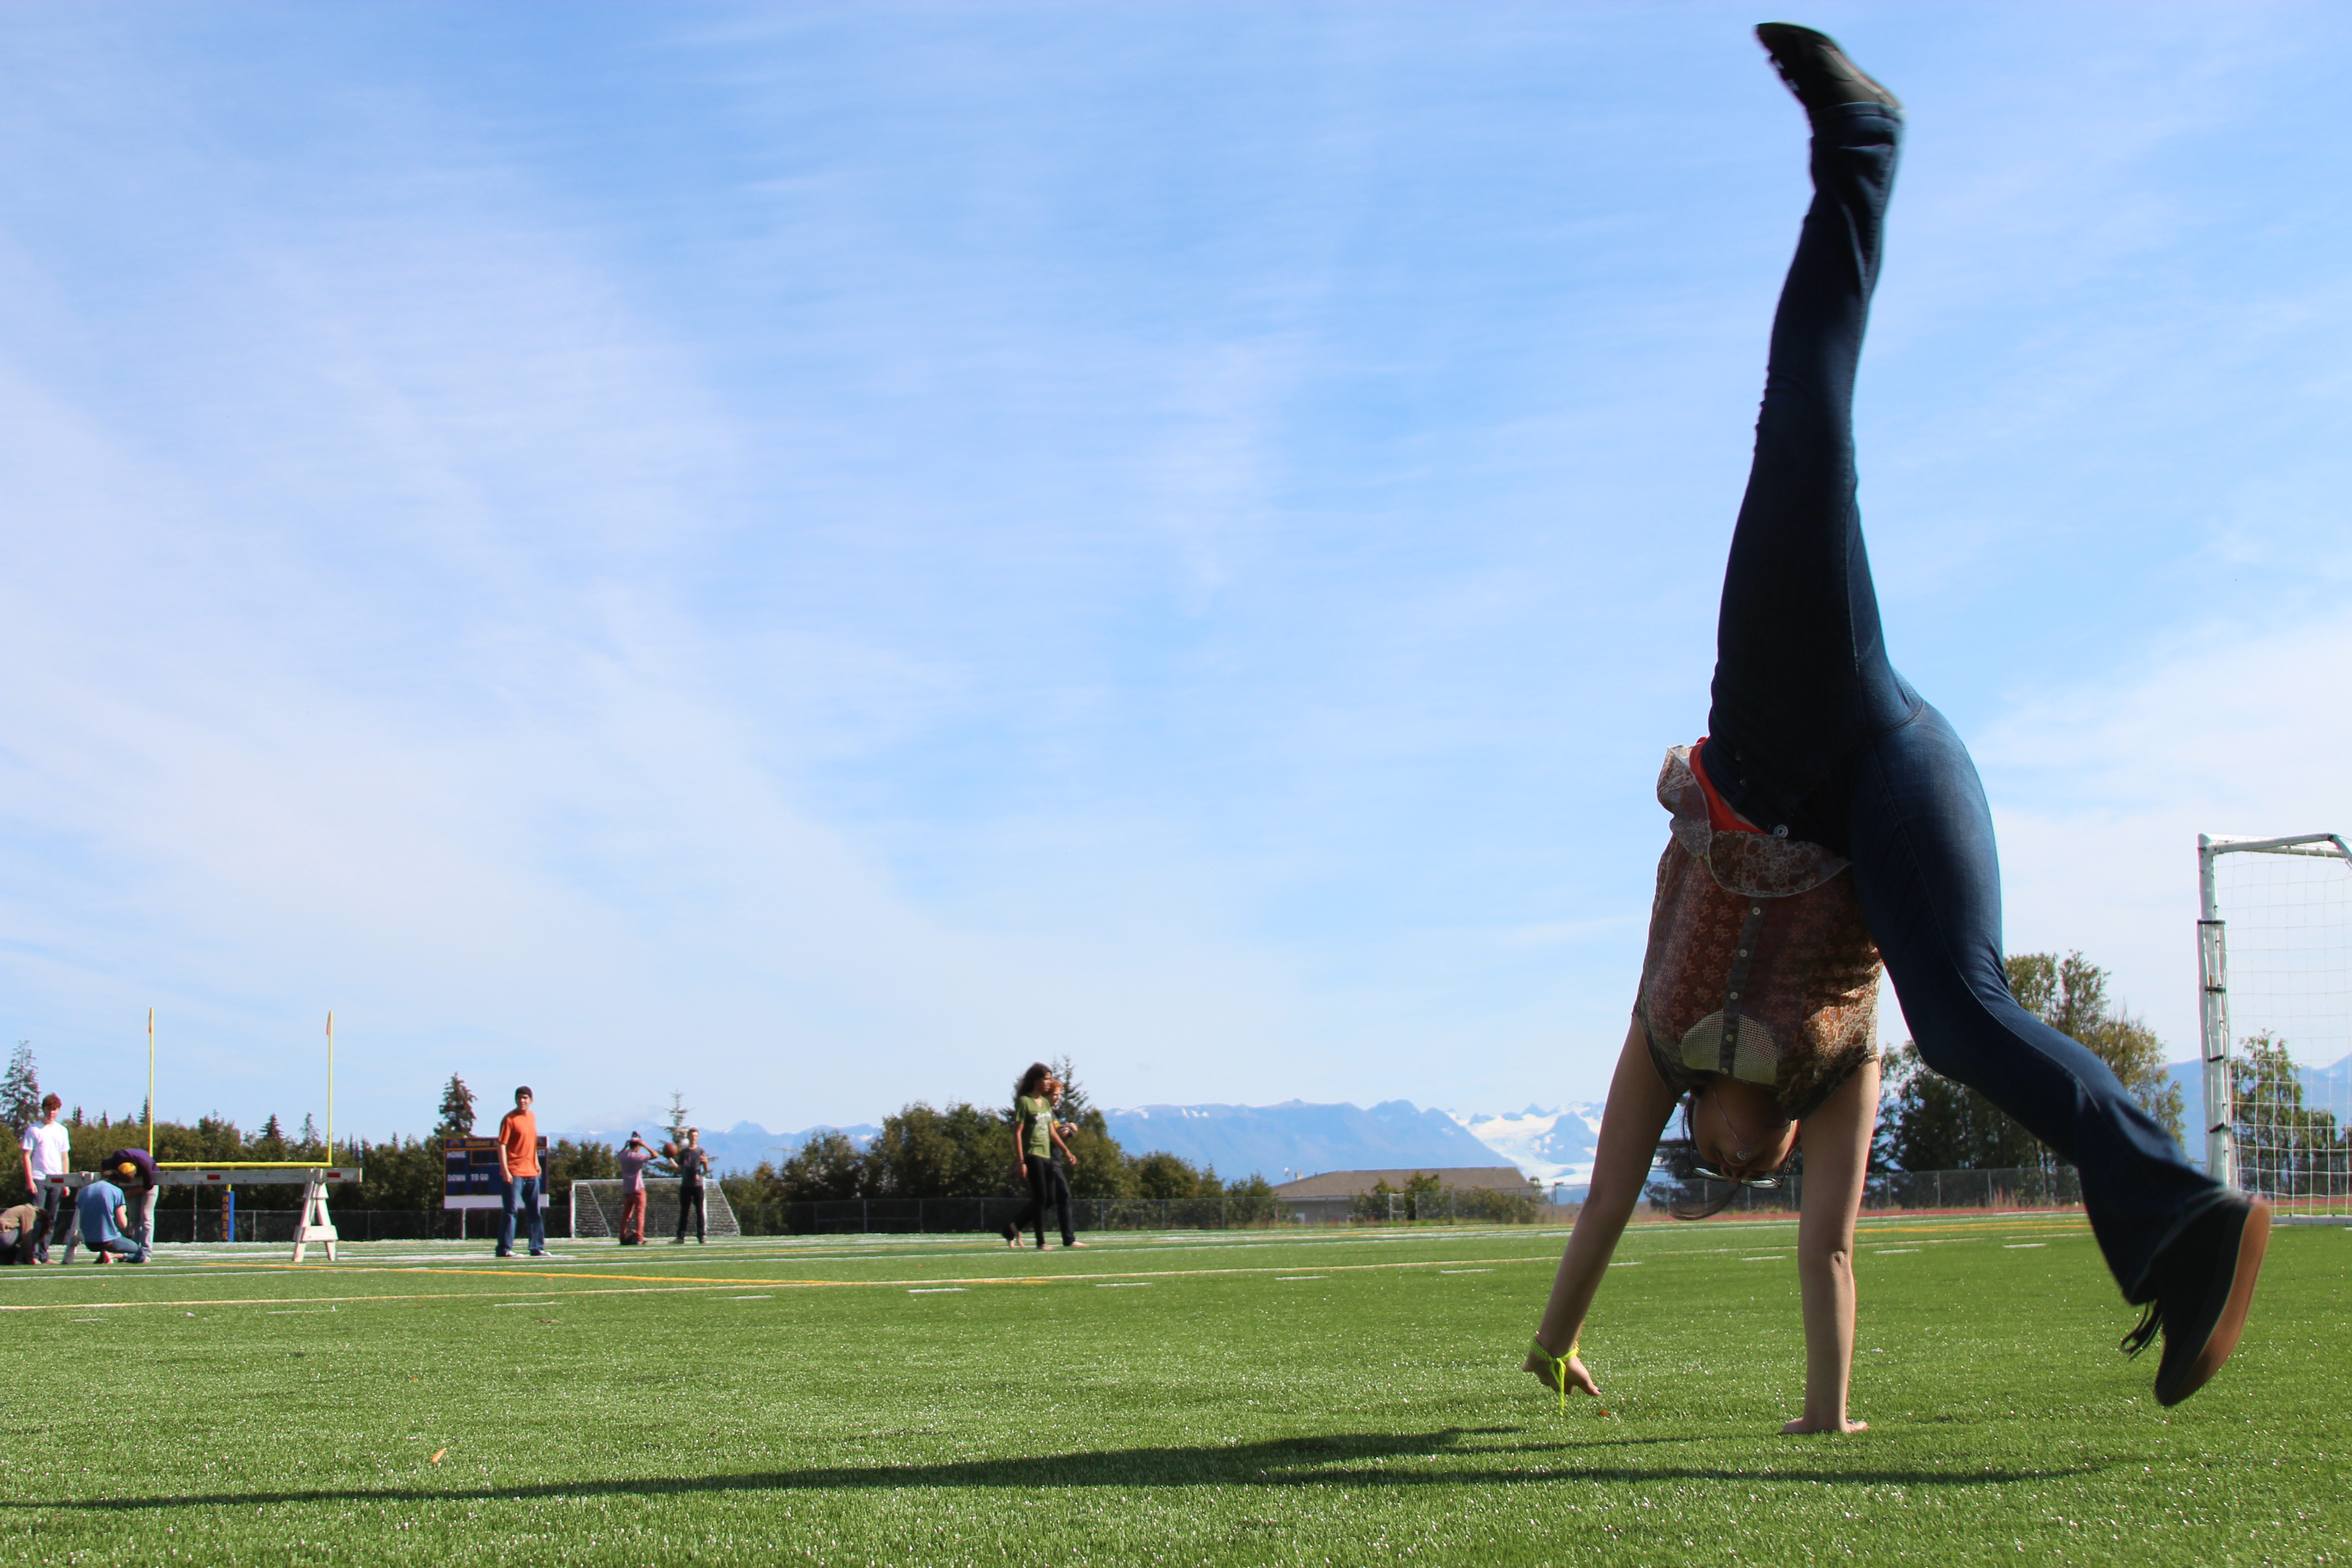
ACTION!

This is the Action Photography Lesson. With this lesson, we were requires to change our settings so that we would be able to capture movement with no blur

Model: Kirkland Leach
In order to get no blur, we had to set the shutter speed into a fraction like 1/500
For Aperture, we set the number into a number <1 because there was a lot of natural bright light outside and it we were to set it to a high number, we would only capture a white photograph.
And finally, for ISO, we set it to 100-200 because if it were more sensitive to light, the picture would be too bright.
Model: Noemi Ochoa
Long Exposure
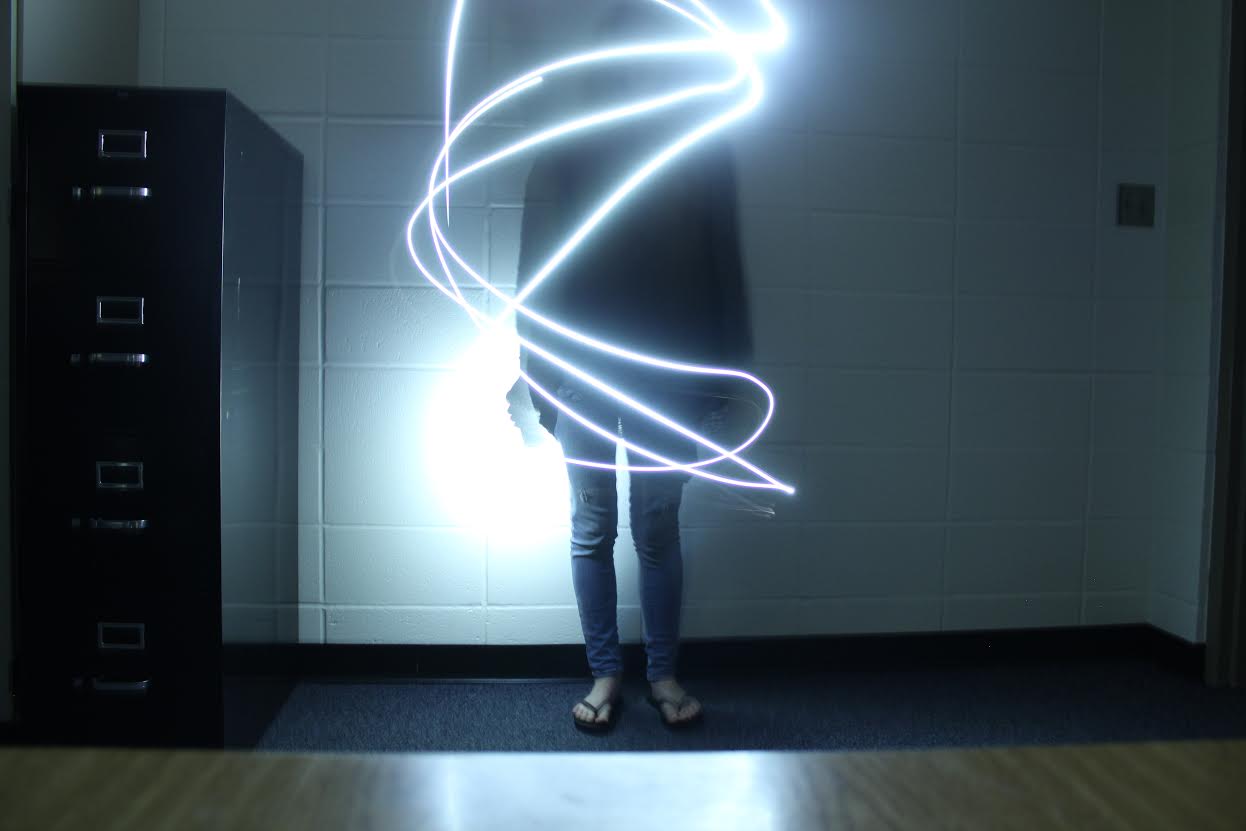
During the Long Exposure Lesson, we went on our camera’s manual settings to manually set it in order to get the correct settings.
We set our Shutter Speed into a number >1 so that the camera can take the time to absorb the light that we used to draw.
For Aperture, we set it to f6-f8 so that the aperature can be large enough to absorb more light.
And finally, for the ISO, we kept the setting on auto to keep it simple and so we could quickly go on with the lesson. If we were to set the ISO though, we would have set it to a number higher than 2500 so it can be more sensitive to light.

Model: Jessie Hiller
WELCOME
Welcome to my Blog. It is composed of many random assortments of photos and some videos. I hope you enjoy your visit.
Here is an interesting Gif I found:

click it